Get to know Ella a little better

HOW TO MAKE THE WATTLEBIRD CAMI FOR A LARGER BUST

October 2020
Written by Ella
Boobs. Have I got your attention? Thought so! My name is Ella, I’m a Common Stitch Ambassador and I wanted to talk about how I modified the Wattlebird Cami for a larger bust. And how by doing so I feel comfortable wearing it without a bra... gasp!
Modifying patterns doesn’t need to be scary – trust me, I’m a beginner sewist too. I don’t follow precise fitting rules, I kind of make it up as I go along. And that’s part of the beauty of making your own wardrobe – YOU make the rules and create something bespoke that is just for you, exactly the way you want it. Plus, the good news is that the un-picker is always there if something goes wrong.
Before we get to the nitty gritty, I wanted to share my measurements to give some context for the changes I made. This is me…
Bust: 45 inch / 114 cm
Waist: 35 inch / 89 cm
Bra Size 16DD
(I think, it’s been a hot minute since we were allowed bra fittings, thanks corona).
Here’s how I made my larger-busted wattlebird cami in six steps:
STEP 1 - CHOSE MY FABIRC
Okay, this doesn’t have to do with specifically having a larger bust, but don’t we all love picking the fabric?! I raided my stash for this gorgeous May Gibbs Gumnut Babies print. I’m an Aussie in London and just know it’s going to remind me of home every time I wear it.
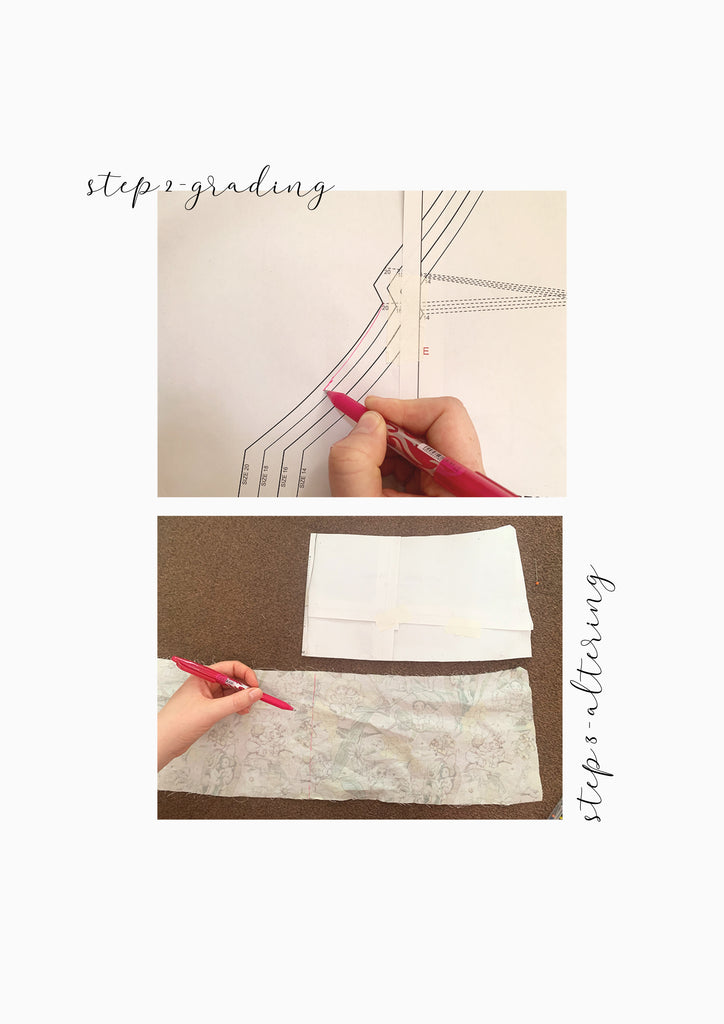
STEP 2 - GRADED BETWEEN SIZES
Based on the Common Stitch sizing guide, I’m a 20 in the bust and 18 on the waist, so I decided to grade between sizes. Doing this meant the side of the cami came right to my arm, rather than only covering part of my breast. I simply drew a new cut line between the dart and waist area.
STEP 3 - MADE THE BACK PIECE INTO ONE, INSTEAD OF TWO
I really didn’t want to cut my gumnut babies in half, so I decided to eliminate the back seam. In retrospect this didn’t work perfectly, but I’m still glad I get to see more of the babies’ smiling faces. I folded over the pattern piece by 1cm to remove the seam allowance, and marked the centre line for future reference (using one of those fancy pants heat removable pens – I love it).
STEP 4 - SEWED IT TOGETHER AND TRIED IT ON
Omg! The part where it starts to become a real garment… so damn satisfying! Trying the cami on allowed me to identify areas I needed to adjust. It was gaping a little around the bust – let’s change that.
STEP 5 - ADDED AN EXTRA DART
I decided to take some fabric off the side seams in a diagonal line – 1cm from the top and 2cm from the bottom. I also folded the top of the chest over by about 1inch (yes I mix measurements, what of it), grading into the side seam. And, most importantly, I added a second dart. To do this, while the garment was on I pinched the excess fabric and marked where I needed the new dart point to end. Then, I copied that dart to the other side, sewed all together and voila! I had enough fabric to cover my whole bust while the cami cinched in at my waist.
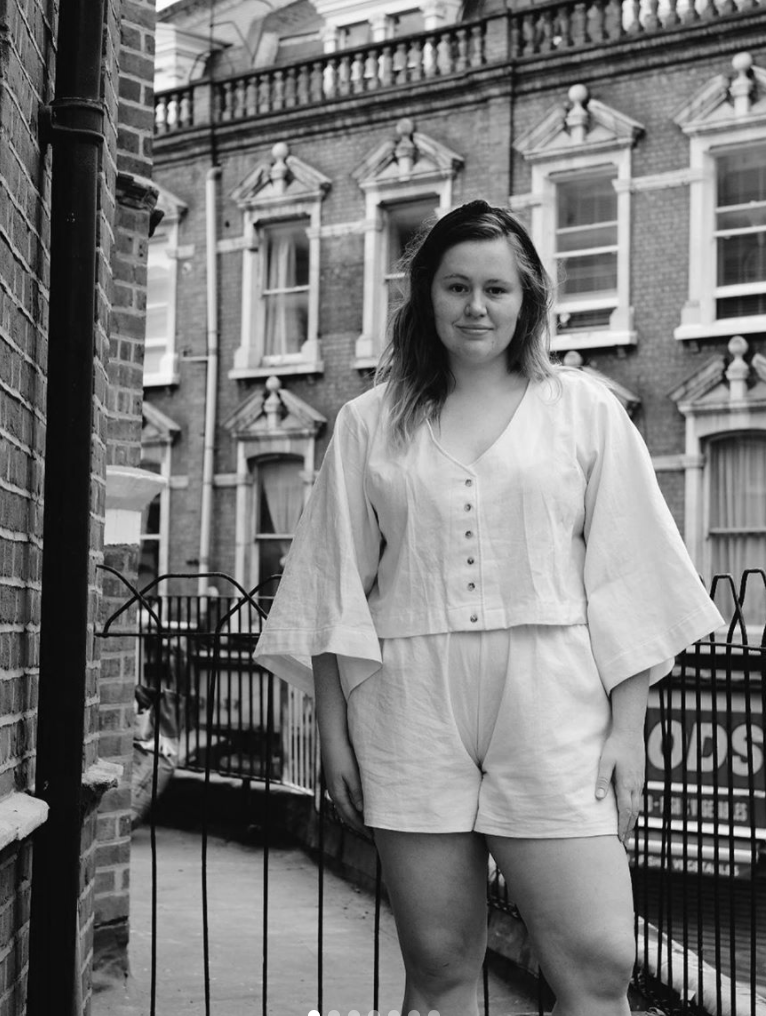
STEP 6 - MADE THE FINISHING TOUCHES + PRANCED AROUND
I bound the edges, hemmed the bottom, and that’s it! I popped it on and pranced around on my balcony. I absolutely loved making this cami, and can’t wait to wear it under a long sleeved tops as the weather gets colder. Be sure to tag @mumblesmakes and @common_stitch on Instagram if you make the Wattlebird Cami for a larger bust too!
Below are some images showing Ella’s steps and the final cami!